Baking Tips & Techniques for Beginners
Every baker can benefit from mastering foundational baking techniques, and pastry school is an excellent place to learn them.
When you think of a baker, you might imagine someone crafting delicious cakes and cookies—while that’s certainly one specialty, the role of a baker encompasses a wide range of baked goods that go well beyond just sweets.
Although pastry chefs focus on desserts and sweets, bakers may make sweet and savory baked goods alike–including focaccia, meat pies, strombolis, cakes, tarts, and more.
Bakers may also have some decorating skills, though more intricate decorating is usually reserved for cake decorating or design specialists. Bakers must understand the science behind their baked goods, and they may need to know how to work with commercial baking equipment. They may also have to scale recipes up or down depending on the quantity needed, so they’ll need to know their baking math.
There’s a lot to it, and baking school can help you lay a solid foundation and become familiar with different baking techniques. Here are nine to get you started.
1. Mise En Place
One of the first rules for any chef is the concept of mise en place, a French term that means “everything in its place.” The goal is to have everything ready to go when it comes time to cook or bake. Since time is often of the essence in baking, smart bakers begin with this step so that they’re not wasting time chopping or measuring when they’re in the baking process.
Start by reviewing the recipe and collecting your tools and ingredients. Set out anything that needs to be brought to room temperature. Prep and measure everything, wash and chop ingredients, and put them into separate bowls so you can grab them when you need them. By completing your prep work and organizing your workstation, you can focus on the recipe at hand and make sure any time-sensitive steps are carried out properly.
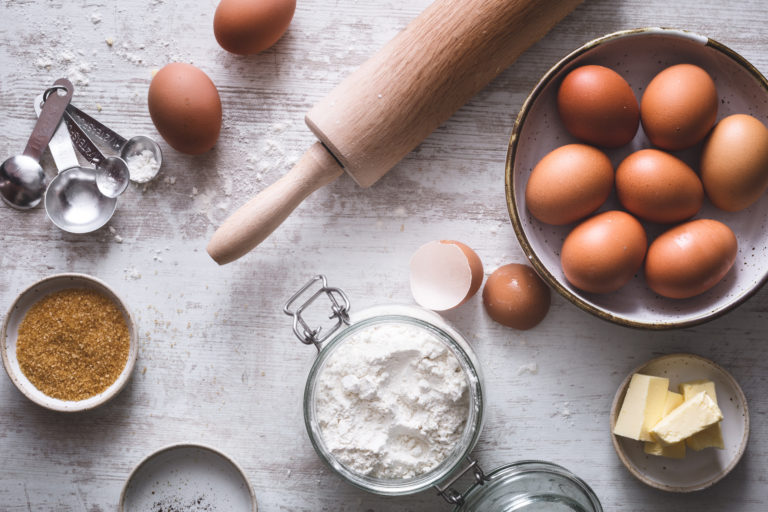
2. Baking Math: Measuring and Converting Recipes
People are sometimes surprised to learn that baking includes a good amount of math and science. In fact, during the mise en place step, you might find yourself translating measurements; bakers will often convert from volumes, like teaspoons and cups, into weights–typically grams–instead.
Proper measuring is vital, and one oft-overlooked baking tip is that weight is usually more accurate than volume. Many bakers consider it faster and also more simple because you deal with round numbers rather than halves, quarters, and thirds. Some tips for measurements:
- When weighing, use a digital scale. Set your mixing bowl on the scale and set it to zero, then weigh your ingredient. Dump that ingredient into your prep bowl, then set the scale back to zero and do it again for the next item.
- If measuring by volume, spoon your flour and dry ingredients into a measuring cup rather than scooping it out with the cup, then level it out with the back of a butter knife.
- Use different measuring cups for liquid and dry ingredients. You measure dry ingredients to the top of the cup and then level off, while liquid measuring cups leave space at the top.
- When doubling a recipe or otherwise scaling up, check your math. You usually need to reduce the amount of leavening ingredients, for example. These are the kinds of pro tips you may pick up when you earn your degree or diploma in baking and pastry.
Proper technique, plus math and science, are vital for success in baking.
3. Baking Science: Why a Recipe Works
Why does the ratio of leavening go down as a recipe is scaled up? Why do we sometimes bring dairy products to room temperature and talk about emulsions? Because baking involves chemistry. Thankfully, as a student at Auguste Escoffier School of Culinary Arts, you can turn to Chef Instructors for insight and further explanations on the sometimes complex science of baking.
In a course like the Fundamentals of Baking and Pastry, Escoffier baking students create various doughs, sauces, crusts, and custards and can practice their ability to recognize how precise measurement and temperature control are crucial to the success of a dish.
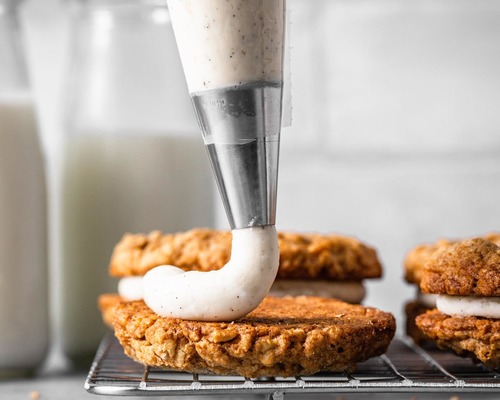
4. Creaming Method
The creaming method typically refers to mixing a fat and sugar. Often, this means mixing butter and sugar together until pale and creamy. When done properly, creaming adds air into the mixture and distributes the sugar more evenly. This helps recipes become light and fluffy.
You want the right technique because you can underdo or overdo it. A failure to cream the mixture long enough gives you a gritty texture; if you overdo it, the butter can separate and your mixture can become greasy. If your baked goods turn out too dense and flat, or if they collapse, the culprit could be a flaw in the creaming method.
5. Whisking
Whisking is another way to incorporate air and body into a mixture, and is often used instead of a rising agent. It’s critical for meringues, sponge cakes, and anything that needs to be light and airy; it’s also important to people who want to eat less fat because you can make creamy concoctions via technique rather than added fat.
Whisking is usually done back-and-forth or in a circular motion, and sometimes diagonally. You’ll usually whisk the wet mixture before folding in dry ingredients.
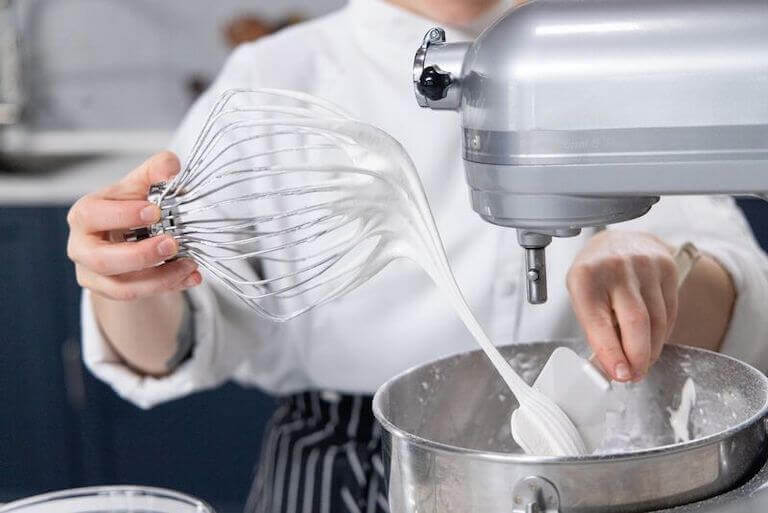
Bakers mix their ingredients together using a variety of techniques.
6. Rubbing In
Rubbing in is pretty much what it sounds like: rubbing flour and butter together with fingers until the mixture resembles breadcrumbs. It’s often used for crumbles, scones, and shortbreads.
This method is typically used when the amount of fat is less than half the amount of flour. It ensures that the flour is coated by the fat and produces less gluten, resulting in the proper texture for these types of baked goods.
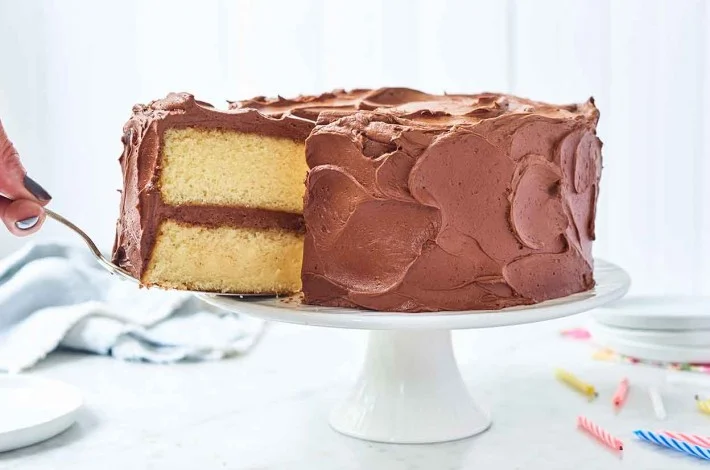
7. Muffin
The muffin method is often used for more dense and moist cakes.
You’ll melt the fat and sugar together until it’s a liquid, then let it cool before adding eggs and then dry ingredients. A lot of rich chocolate cakes or batches of fudge use this method.
8. Stirring and Folding
“Stir” and “mix” are often used interchangeably, but mixing is usually more intense and uses a quicker motion, as with a standing mixer, while stirring is usually done by hand.
Proper mixing is critical. For example, if you overmix, too much gluten can be produced and change the texture of your dough.
Folding is done with a spatula, scraping from the bottom up, to incorporate an ingredient like chocolate chips, fruit, egg whites . . . and sometimes cheese.
9. Kneading and Rolling
As with mixing, you’ll want to get this technique just right and not go overboard – too much or too little mixing can create an undesirable texture that could render your dough unusable. The goal when kneading is a shiny, smooth texture. During the kneading process, gluten is also developed, which is part of what gives the dough structure.
You can knead dough by hand, with a stand mixer, or with a bread machine. During the kneading process, gluten is usually activated via a process in which carbon dioxide is produced by the yeast, causing the dough to rise (remember that part about the chemistry behind baking?).